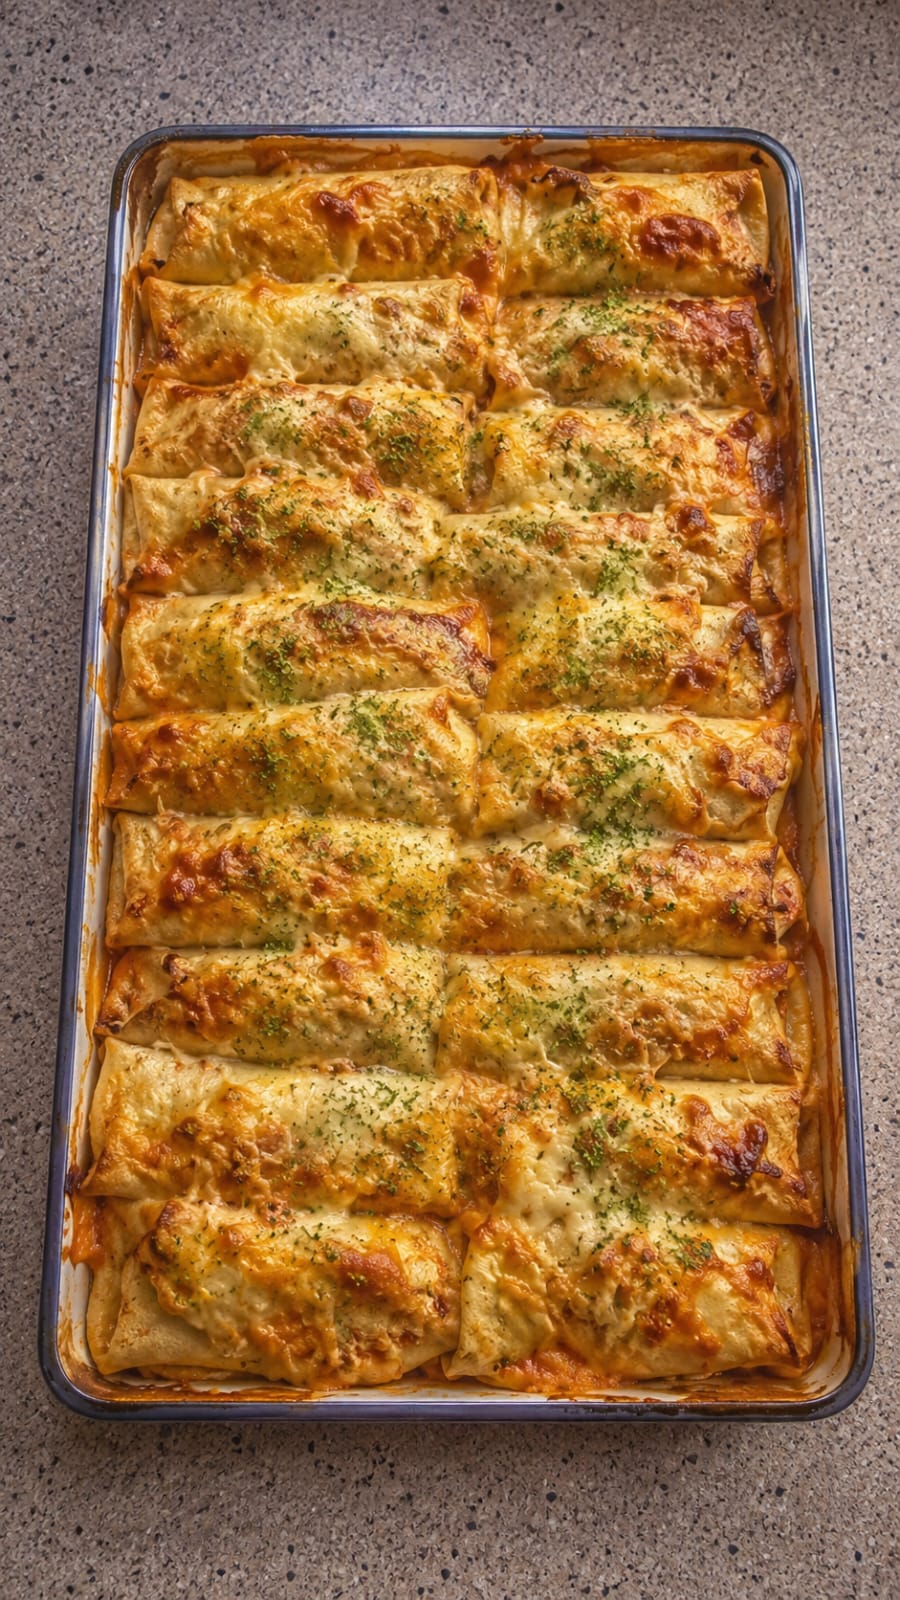
There’s a moment, right when you pull a bubbling, golden baking dish from the oven, when the aroma of garlic, herbs, and melted cheese wraps around you like a blanket. That’s the moment you know dinner is going to be good. This Cheesy Stuffed Pasta Shells Bake is everything a family meal should be: giant pasta shells cradling a rich, creamy meat-and-ricotta filling, nestled in tangy marinara, and crowned with a blanket of stretchy, bubbling mozzarella. It’s hearty, deeply satisfying, and absolutely bursting with flavor. Every forkful delivers the perfect ratio of tender pasta, savory beef, luscious cheese, and bright tomato sauce. No wonder it’s the dish everyone asks for by name.
This isn’t a fussy, all-day project. It’s a friendly, forgiving bake that welcomes you to use what’s in your fridge and adjust to your family’s taste. You can go classic with ricotta, Parmesan, and ground beef, or switch it up with cream cheese, ground chicken, and a handful of spinach. You can assemble it ahead, stash it in the freezer, and pull it out on a busy weeknight for a dinner that tastes like Sunday supper. Whether you’re feeding a hungry crowd, delivering a meal to a friend, or simply craving a cozy night in, these stuffed shells promise pure comfort in every bite.
In this guide, I’ll walk you through how to make the best cheesy stuffed shells, from picking the perfect pasta to achieving a velvety filling and a crusty, golden top. You’ll find step-by-step instructions, make-ahead tips, clever variations, and all the little secrets that turn a good pasta bake into a legendary one. Let’s dive in.
Why You’ll Love This Stuffed Shells Recipe
Comfort food at its finest. Tender pasta, a creamy three-cheese filling, seasoned ground meat, and a luscious tomato sauce come together in one glorious dish. It’s the kind of dinner that makes everyone quiet at the table because they’re too busy enjoying every mouthful.
Incredibly versatile. Use ground beef, ground chicken, or even Italian sausage. Swap ricotta for cream cheese or cottage cheese. Toss in spinach, mushrooms, or roasted peppers. The filling is a canvas you can paint with whatever your family loves most.
Perfect for meal prep and freezing. You can assemble the entire dish up to two days ahead and bake it when needed, or freeze it for a future easy dinner. There’s nothing better than pulling a pan of homemade stuffed shells from the freezer on a chaotic evening.
Guaranteed crowd-pleaser. This baked pasta dish is a hit with kids and adults alike. The giant shells are fun to eat, and the cheesy, meaty filling feels like a special occasion even on a regular Tuesday.
Ingredient Deep Dive: Building the Perfect Shell
Each ingredient contributes to the final dish. Here’s how to choose and use them.
Jumbo Pasta Shells or Cannelloni Tubes
Look for large, sturdy pasta shells specifically labeled “jumbo” — about 20 to 24 pieces. They’re designed to hold a generous amount of filling. Cannelloni tubes (manicotti) are a great alternative; you can pipe the filling directly into them using a zip-top bag. Cook the pasta until just al dente, or even a minute shy, because it will continue cooking in the oven. Overboiled shells tear easily and become mushy after baking.
Ground Beef or Ground Chicken
A pound of ground beef (80/20) adds richness and deep flavor. For a lighter version, ground chicken or turkey works beautifully. No matter what you choose, drain excess fat after browning to keep the filling from becoming greasy. Brown the meat with onion and garlic for a savory base that infuses every bite.
Aromatics: Onion and Garlic
A small yellow or white onion, finely chopped, and a couple of cloves of fresh garlic bring aromatic depth. Sauté them directly with the meat until translucent and fragrant. This step layers flavor from the very beginning.
Marinara or Tomato Sauce
A good-quality jarred marinara works wonderfully, or you can use homemade tomato sauce if you have it. About 1½ cups total: half a cup stirred into the meat to make it juicy, and one cup spread in the bottom of the baking dish and spooned on top. The sauce keeps everything moist during baking and adds that essential tangy-sweet note.
The Creamy Cheese Trio
Ricotta cheese: The classic base for the filling, offering a creamy, slightly grainy texture that binds everything together. Full-fat ricotta delivers the richest result. If you don’t have ricotta, softened cream cheese makes an equally luscious substitute — it will be denser and tangier, which is absolutely delicious.
Mozzarella cheese: One cup mixed into the filling and another cup on top for that irresistible golden, stringy melt. Shred your own from a block for the smoothest melt.
Parmesan cheese: Half a cup of freshly grated Parmesan adds a salty, nutty punch that elevates the filling. Don’t skip it; its flavor cannot be replicated.
Egg and Seasonings
One large egg acts as a binder, helping the filling hold its shape inside the shells. Italian seasoning, paprika, salt, and black pepper give the dish its warm, herby character. The paprika adds a subtle smokiness and beautiful color to the meat.
Step-by-Step Instructions
Follow these steps for flawless stuffed shells every time.
Step 1: Cook the Pasta Shells
Bring a large pot of generously salted water to a boil. Add the jumbo shells and cook according to the package directions until just tender, about 8–9 minutes. Do not overcook. Drain and rinse briefly with cool water to stop the cooking, then lay the shells out separately on a clean kitchen towel or parchment paper so they don’t stick together.
Step 2: Prepare the Savory Meat Mixture
Heat a large skillet over medium heat. Add the ground beef, chopped onion, and minced garlic. Cook, breaking up the meat with a spatula, until fully browned and the onion is soft and translucent, about 7–8 minutes. Drain any excess grease. Season with salt, black pepper, paprika, and Italian seasoning. Stir in ½ cup of the tomato sauce and let the mixture simmer for 2–3 minutes until juicy and fragrant. Set aside to cool slightly.
Step 3: Make the Creamy Cheese Filling
In a large bowl, combine the ricotta cheese (or softened cream cheese), egg, grated Parmesan, 1 cup of shredded mozzarella, and a pinch of black pepper. Mix until smooth. Add the cooled meat mixture to the cheese filling and stir thoroughly until everything is evenly combined. The filling should be thick, creamy, and scoopable.
Step 4: Assemble the Bake
Preheat your oven to 375°F (190°C). Spread 1 cup of tomato sauce evenly in the bottom of a 9×13-inch baking dish. Using a spoon or a small cookie scoop, stuff each pasta shell generously with the meat and cheese filling. Nestle the filled shells into the dish, open side up, in a single layer. You can pack them fairly snugly; they’ll hold each other upright. Spoon a little extra sauce over the tops of the shells, then sprinkle the remaining 1 cup of shredded mozzarella over everything.
Step 5: Bake Covered, Then Uncovered
Cover the dish tightly with aluminum foil and bake for 25 minutes. The foil traps steam, ensuring the pasta stays moist and the cheese melts thoroughly. After 25 minutes, remove the foil and continue baking for another 10 to 15 minutes, until the cheese on top is bubbly, golden, and beginning to brown in spots. If you like a browner top, switch the oven to broil for the last 1–2 minutes—watch closely.
Step 6: Rest and Serve
Remove the dish from the oven and let it rest for 5–10 minutes. This brief pause allows the sauce to settle, makes the shells easier to lift out, and prevents burnt tongues. Garnish with fresh chopped parsley and serve hot.
Pro Tips for the Best Stuffed Shells
- Undercook the pasta slightly. Aim for al dente or even a minute less. The shells will absorb more moisture and finish cooking in the oven, keeping their shape without turning mushy.
- Cool the meat before combining. If the ground beef mixture is too hot, it can scramble the egg and melt the cheese filling before baking. A few minutes of cooling makes a big difference.
- Use a piping bag or zip-top bag. For neat, easy filling, spoon the mixture into a large zip-top bag, snip off a corner, and pipe it directly into the shells or cannelloni tubes. It’s fast, clean, and fills them beautifully.
- Sauce the bottom. Don’t skip spreading sauce in the baking dish. It prevents the shells from sticking and adds a layer of moisture that keeps the pasta soft underneath.
- Let it rest. Those 5–10 minutes after baking aren’t just to save your mouth from the heat. The dish sets up, making serving easier and the flavors more pronounced.
Delicious Variations & Add-Ins
Spinach and Mushroom Stuffed Shells
Stir in 1 cup of chopped cooked spinach (well-drained) and ½ cup of sautéed mushrooms into the filling. The earthiness of the mushrooms and the fresh green note of spinach add wonderful texture and nutrition.
Chicken Alfredo Stuffed Shells
Replace the marinara sauce with Alfredo sauce and use ground chicken or shredded rotisserie chicken instead of beef. Swap the Italian seasoning for a pinch of nutmeg and use a blend of mozzarella and provolone for a creamy white version.
Spicy Italian Sausage & Bell Pepper
Use hot Italian sausage (casings removed) and add finely diced red bell pepper when browning the meat. Stir in a pinch of red pepper flakes for extra heat. Ricotta with Parmesan and a smoked mozzarella on top takes it over the edge.
Cream Cheese & Bacon Loaded Shells
Replace the ricotta entirely with softened cream cheese and fold in cooked, crumbled bacon. The filling becomes ultra-rich, tangy, and smoky—perfect for a decadent weekend dinner.
What to Serve with Cheesy Stuffed Shells
This bake is rich and hearty, so sides that bring freshness and crunch are ideal. A simple cucumber-tomato salad with a lemony vinaigrette cuts through the creaminess. Classic garlic bread or warm, buttery breadsticks are perfect for mopping up every last drop of sauce. For greens, sautéed green beans with garlic, a crisp Caesar salad, or roasted broccoli with chili flakes add balance. If you want a lighter accompaniment, a zesty arugula salad with shaved Parmesan is quick and elegant.
Want the full recipe and simple step-by-step instructions?
Page 2 continues with the full ingredients, cooking tips, and easy directions so you can make this recipe perfectly at home.