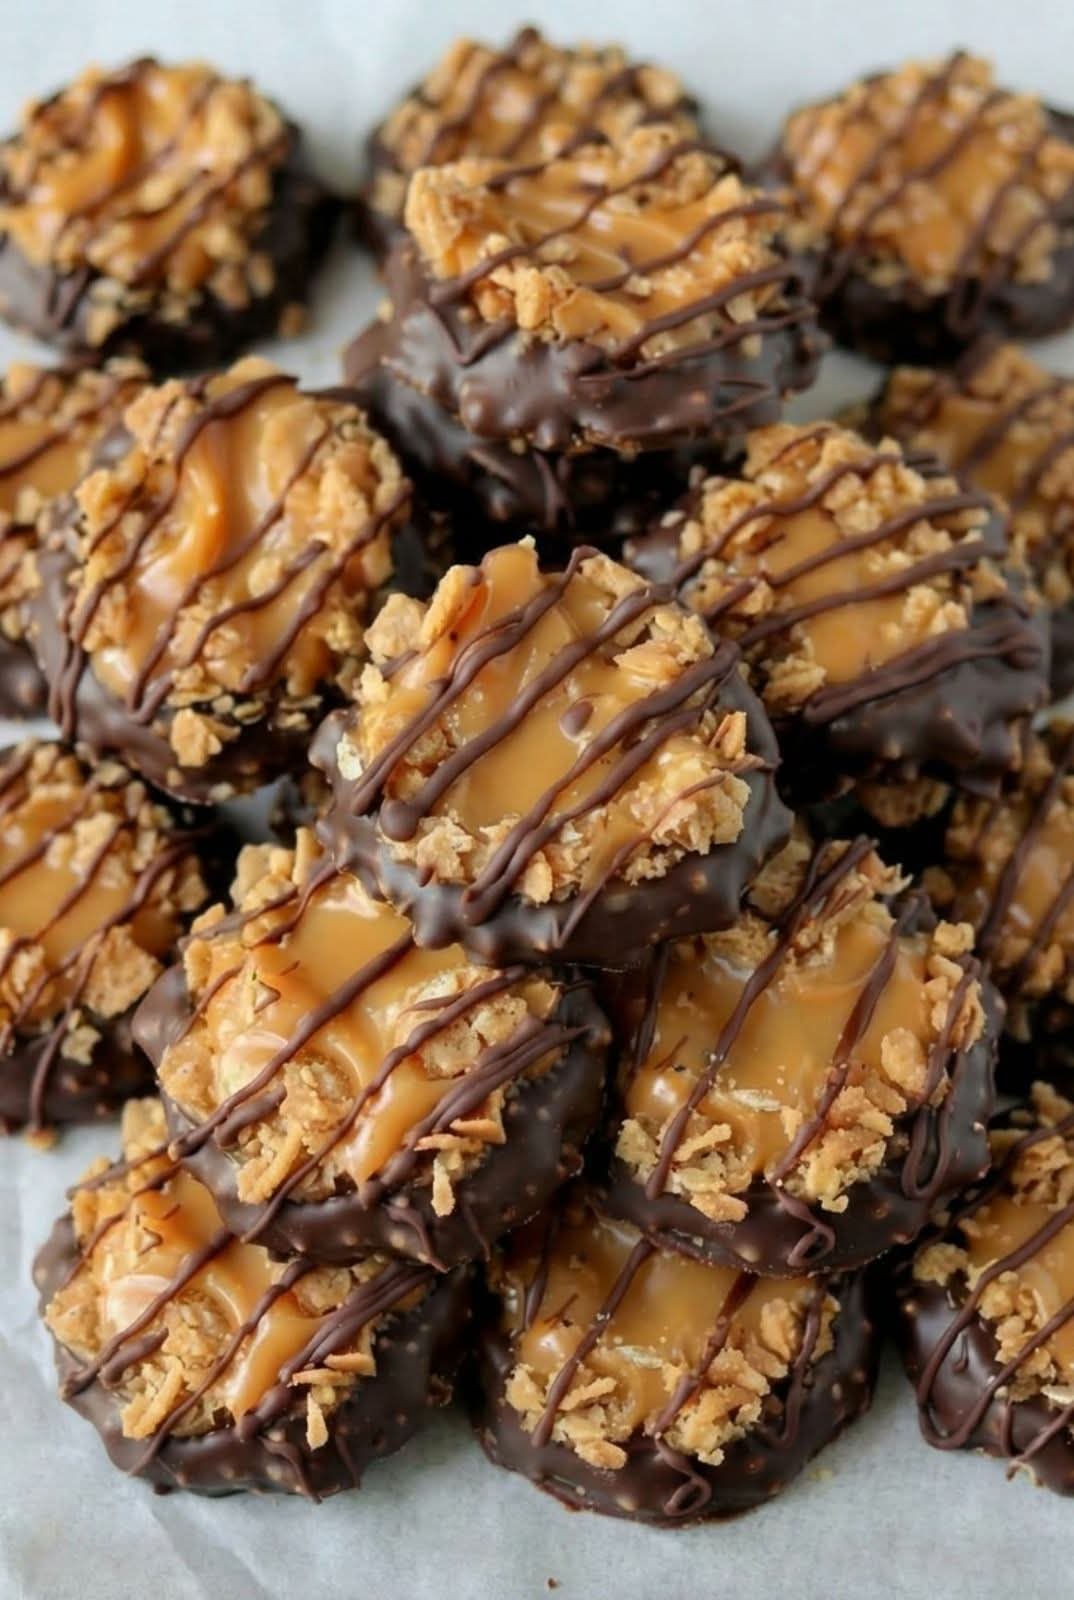
If you love the iconic Girl Scout cookie but dread turning on the oven, these no‑bake Samoa cookies are about to become your new obsession. With toasted coconut, gooey caramel, and rich chocolate, they deliver all the nostalgic flavor in a fraction of the time.
The Story Behind Samoa Cookies
Before we dive into this easy no‑bake dessert, let’s take a moment to appreciate the cookie that inspired it all. The original Samoa cookie – also known as Caramel deLites in some regions – was introduced by the Girl Scouts in 1974. It quickly became the second most popular Girl Scout cookie, trailing only the legendary Thin Mint. The name “Samoa” was chosen to reflect the tropical, coconut‑heavy flavor profile, inspired by the Pacific island nation where coconut is a top export.
Over the years, this ring‑shaped cookie with its caramel‑coconut topping and chocolate drizzle has earned a cult following. But here’s the catch – it’s only available for a few months each year. That’s where this homemade Samoa cookie recipe comes in. By skipping the oven, you can enjoy these chewy coconut caramel cookies any time the craving strikes.
Why You’ll Love These No‑Bake Samoa Cookies
No oven required – keep your kitchen cool, especially during summer.
Ready in under an hour – most of the time is just chilling.
Beginner‑friendly – no complicated baking techniques.
Customizable – easily made vegan, gluten‑free, or dairy‑free.
Budget‑friendly – uses simple pantry staples.
Crowd‑pleaser – the perfect balance of sweet, salty, crunchy, and chewy.
Whether you need a quick dessert for parties, a holiday treat, or just a sweet snack to enjoy with coffee, these no‑bake coconut cookies check every box.
Ingredients for No‑Bake Samoa Cookies
This recipe comes together with a handful of ingredients. Below is the classic version using caramel candies – but I’ve also included notes for a healthier date‑sweetened option and a vegan variation.
Base & Caramel‑Coconut Layer
- 3 cups sweetened shredded coconut (divided – 2¾ cups for the mix, ¼ cup for topping)
- 11 oz soft caramel candies, unwrapped (about 30–35 pieces)
- 3 tablespoons heavy cream (or milk)
- 2 tablespoons unsalted butter
- 1 teaspoon vanilla extract
- ¼ teaspoon fine sea salt (or kosher salt)
Chocolate Finish
- 1½ cups semi‑sweet chocolate chips (or chopped dark chocolate)
- 2 teaspoons coconut oil or neutral vegetable oil (for a glossy shine)
- Flaky sea salt (optional, for garnish)
Alternative: No‑Bake Base (for a more traditional texture)
- 2 cups vanilla wafer cookies or sandwich cookies, crushed into fine crumbs
- 6 tablespoons unsalted butter, melted (or refined coconut oil for dairy‑free)
Note: If you prefer a vegan Samoa cookie, simply use dairy‑free caramel (or make your own with coconut milk), vegan butter, and dairy‑free chocolate chips. For a gluten‑free version, ensure your cookies and caramel are certified gluten‑free.
Step‑by‑Step Instructions
Follow these simple steps to create your own batch of homemade no‑bake Samoa cookies. The process is straightforward, and the results are absolutely irresistible.
1. Toast the Coconut
Spread the shredded coconut in a large dry skillet over medium heat. Stir constantly for 4–6 minutes until the coconut turns lightly golden and fragrant. Be careful – it can burn quickly. Transfer to a large mixing bowl and let it cool slightly. If you prefer, you can toast it in the oven at 325°F for 5–8 minutes, stirring halfway.
2. Melt the Caramel
In a small saucepan over low heat, combine the unwrapped caramels, heavy cream, and butter. Stir frequently until the caramels are fully melted and the mixture is smooth and glossy – about 3–5 minutes. Remove from heat and stir in the vanilla extract and salt.
Pro tip: Keep the heat low to prevent the caramel from becoming grainy. If it’s too stiff, warm it gently for 10–15 seconds in the microwave.
3. Combine Coconut and Caramel
Pour the warm caramel mixture over the toasted coconut in the mixing bowl. Use a sturdy spatula to stir and fold until every strand of coconut is evenly coated. The mixture will be thick and sticky – that’s exactly what you want.
4. Shape the Cookies
Line a baking sheet with parchment paper. Using a 1½‑tablespoon cookie scoop or a regular spoon, drop packed mounds of the coconut‑caramel mixture onto the prepared sheet. Use slightly damp fingers to press and compact each mound so it holds together well. You should get about 24 cookies.
Optional: For a more authentic ring shape, poke a hole in the center of each mound using a straw or the end of a wooden spoon before chilling.
5. Chill the Cookies
Refrigerate the baking sheet for 20–30 minutes until the mounds are firm and set. This step is crucial – it prevents them from falling apart when you dip them in chocolate.
6. Melt the Chocolate
Place the chocolate chips and coconut oil in a microwave‑safe bowl. Heat in 20‑second bursts, stirring between each, until the chocolate is completely melted and smooth. Alternatively, use a double boiler on the stovetop.
7. Dip and Drizzle
Working with one chilled cookie at a time, dip the bottom into the melted chocolate, letting the excess drip back into the bowl. Return the cookie to the parchment‑lined tray, chocolate side down. Once all bottoms are coated, transfer the remaining chocolate to a piping bag or a small zip‑top bag with a tiny corner snipped off. Drizzle thin lines over the tops of the cookies. Immediately sprinkle with the reserved toasted coconut and a pinch of flaky sea salt, if desired.
8. Set and Serve
Refrigerate the tray for another 10–15 minutes until the chocolate is fully set. Serve the cookies slightly chilled or at cool room temperature. Store leftovers in an airtight container in the refrigerator for up to 1 week – if they last that long!
Expert Tips for Perfect No‑Bake Samoa Cookies
- Use fresh coconut – it makes a noticeable difference in flavor.
- Don’t overheat the caramel – low and slow is the key to a smooth, silky texture.
- Chill if sticky – if the mixture becomes too sticky to shape, pop it in the fridge for a few minutes.
- Pack firmly – press each mound very firmly before chilling; loosely packed cookies may crumble when dipped.
- Work quickly – the caramel mixture sets fast, so have everything prepped and ready to go.
- Add a pinch of salt – a touch of sea salt on top elevates the flavor and balances the sweetness.
Delicious Variations
One of the best things about this recipe is how easily it adapts to different dietary needs and flavor preferences. Here are some of my favorite twists:
Vegan No‑Bake Samoa Cookies
Replace the butter with refined coconut oil, use dairy‑free caramel (or make a coconut‑milk caramel), and opt for vegan chocolate chips. Many plant‑based versions use Medjool dates as a natural caramel alternative – simply blend 8 pitted dates with a pinch of salt and a little water until smooth, then mix with toasted coconut.
Gluten‑Free Option
If you’re adding a cookie base, use certified gluten‑free vanilla wafers or sandwich cookies. The coconut‑caramel mixture itself is naturally gluten‑free.
Healthier Date‑Sweetened Version
For a refined‑sugar‑free treat, skip the caramel candies and use 1 cup of pitted Medjool dates blended with 1 teaspoon of water and a pinch of salt. Mix in 1 cup of toasted coconut, roll into balls, flatten, and chill. Dip in melted dark chocolate – you won’t miss the sugar one bit!
Samoa Cookie Bars
Instead of individual cookies, press the coconut‑caramel mixture into a lined 9×13‑inch pan, chill, then drizzle with chocolate and cut into bars. This is a fantastic no‑bake dessert bar for feeding a crowd.
Extra Crunchy Base
For a more traditional Samoa texture, add a base layer. Crush 2 cups of vanilla wafers, mix with 6 tablespoons of melted butter, and press into rounds before topping with the caramel‑coconut mixture. This gives you that signature crisp cookie foundation.
Nutritional Information
Approximate values per cookie (based on 24 cookies, classic caramel version):
- Calories: 210
- Carbohydrates: 23g
- Protein: 2g
- Fat: 13g
- Saturated Fat: 9g
- Fiber: 2g
- Sugar: 18g
- Sodium: 120mg
For the date‑sweetened version, calories drop to approximately 147 per cookie, with 20g of carbohydrates and 8g of fat.
Want the full recipe and simple step-by-step instructions?
Page 2 continues with the full ingredients, cooking tips, and easy directions so you can make this recipe perfectly at home.